Showing posts with label tutorial. Show all posts

Friday, May 6, 2016

MHKDesigns Inspiration Post

 
Donna here with MHKDesigns and my monthly inspiration post.


I could not resist using last months releases Stitched Sunflowers again and the Sunflower Sampler Pack.  Sunflowers are one of my favorite flowers and I fell in love with this sunflower, the beautiful sayings with it and the paper pack.  After coloring my sunflower with Copics I covered it with Versamark ink and embossed it with clear embossing powder.  I did this 3 times for depth and effect.  I had seen this paper fold numerous times and had wanted to give it a try.  It is easy peasy. 

Tutorial:
1 )  Choose a two side paper or  make your own like I did  by gluing two of the papers from the Sunflower Sampler Pack together.
2) Measure  the right long side of your patterned paper and make a mark at the center.
3)  Cut a straight line 2" in from the center.
4)  Fold from the center of your cut line to the top right corner, smooth with a bone folder and put a dot of two side tape underneath to secure.
5) fold from the center of your cut line to the bottom right corner, smooth with a bone folder, put a dot of two sided tape underneath to secure.
6) Add your image over your cut line with pop dots or adhesive.

Let me know if you try this, I would enjoy visiting your blog and seeing your art work!

Thanks for stopping by and I would appreciate you jumping over to MHKDesigns and leaving a comment there also if you enjoyed my post and have a spare minute.

A few fun challenges:
Craft Your Passion: # 310 Always Anything Goes
Crafting From the Heart: #109 Always Anything Goes

Wednesday, April 6, 2016

MHK Designer Inspiration: Butterfly Wisdom

Hello,  it is my day to share some inspiration on the MHKDesign's blog today.

I am sharing  a card  made with  Butterfly Wisdom stamp set:

 
And the beautiful paper set: Stenciled Roses Digital Papers.
 
I made a Cascading Z- Fold card. 
 
To make a regular Z fold card :
-Cut a piece of cardstock 12" by 5 1/2"
-Scor at 2" 4" 8" 10"
- Fold as shown with no trimming
-Decorate folds and inside with patterned paper
 
For a Cascading Z-fold card:
-Mark 2" down from the top on each end of the card stock, trim from this mark to the
second fold line which is 4" from the end.  See below:
 
 
-Decorate with designer paper as shown.
 
Hope you will try out this fun technique!
 
 
A few fun challenges:


Thursday, January 21, 2016

MHK Designs Blossoming


MHK Designs has a new blog and this is the first challenge!  Each month will be a photo//color inspiration and the design team will share creations made with products from the MHKDesigns Etsy Shop and we encourage you to play along!
 
Here is this month's inspiration:
 
 
 I have a passion for trying new folds.  I have made Z-fold cards before but this is my first modified Z-fold card, which basically is a shorter Z-fold card.   You start with the colored paper of your choice and trim it to 5 by 12 inches.  Mark the top left side 2 1/2 inches down  and trim on the diagonal to the top right corner.   Take white cardstock and trim to 4 7/8 by 12inches.  Mark top left corner at 2 3/8 inches  down and trim on the diagonal to the top right corner.   Scor both pieces at 4 and 8 inches, fold and attach white cardstock to colored cardstock with adhesive of your choice  as shown on my card and decorate as desired.

The prize for this challenge includes:


 You can play along at MHK Designs  and see the cards of the talented design team.
 
Thanks for visiting today.
 
A few fun Challenges:


    Project Supplies:                              

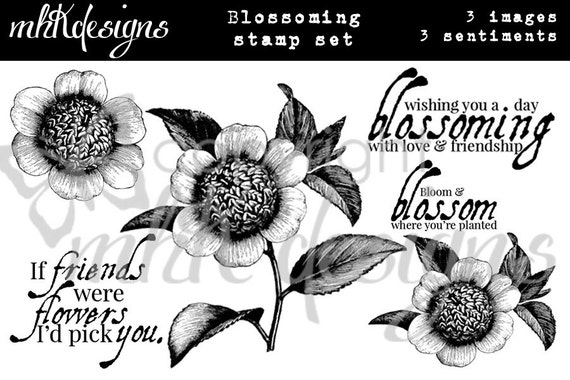
Blossoming Digital Stamp Set

MHK Designs Blossoming